Skip to instrument
Jump straight to the app

It can be hard work playing a musical instrument... So, how about letting the musical instrument play you instead?

Use your motions and emotions to make music! The original mood-controlled musical instrument! Learn more about the project or Show requirements.

This will grant musical superpowers to anybody nearby. Your head movements, facial expressions and mouth shape will control aspects of sound to help you make beautiful music. Press the screen or hold your eyes closed to change instruments, or select one by name from the side panels.
Play together online: Join the shared room.
Improving human-machine relationships. Made with love by designerzen.

Warning : Please be very careful if you are photosensitive. Contains flashing lights.

Requirements
Requirements for compatibility :
Video Camera Web camera / phone camera Checking...
Speakers / HeadsetMake sure that the vvolume is not too quiet or mutedChecking...
MIDIOptional Electronic musical instrument with MIDI portsChecking...
Graphics Processing Unit GPUPowerful computer prefered, desktop or gaming machines wrk bestChecking...
View transitionsOptional animation between control layoutsChecking...
Optimised Web Browser Not all features are available or are restricted in certain browsers.
Recommended browsers include Chrome / Edge
Alternate Browsers in terms of recommended features
  1. Chrome
  2. Edge
  3. Brave
  4. Arc
  5. Opera
  6. Vivaldi
  7. Safari
  8. Firefox
  9. Zen
Checking...

Display & accessibility

Personalise the interface. Changes apply immediately and are saved on this device.

Use Tab to move between controls and Escape to close settings.

Presets
Save and transfer preferences

Export a JSON file to use your preferences and saved presets on another device. Imported preferences apply immediately.

Colours

Themes change interface colours; camera and performance visuals keep their original colours. Editing a colour selects Custom colours.

Custom colours

Reading
Font and spacing options

Individual font and spacing choices take priority over the reading checkboxes.

Interaction
Focus, borders and links

Reduces interface animation and hides the animated wallpaper. Live camera and musical visualisations continue.

Emotionally Controlled Synthesizer

Use your moods to make music.

QR code linking to the PhotoSYNTH website

Share this app with friends

Choose Players
Options

Friendly version with simple interface and instuctions suitable for beginners =P

Expert mode includes MIDI connectivity and more controls

Please accept any permission requests

To use this software you must allow the camera to look at you, but no data leaves your device.

If you have MIDI instruments please also accept permission to communicate with them.

Change the instrument for each player to a random one

Shared controls that apply to all players

Show MIDI options

MIDI routing

MIDI routing

Connected MIDI devices

Connect MIDI devices - zero devices found.

Eyebrow expression

Enable Eyebrow expression in each person's instrument settings. Output follows that person's MIDI device and channel. CC values span 0–127 with relaxed eyebrows at 64; pitch bend centres at 0.

MIDI app controls

Use values 0–63 for off and 64–127 for on. Faders span their full range. Selectors span their options in order. Changes send CC to all connected outputs on this channel.

Scroll to explore connections and settings
Show tempo options
Set Tempo0%
Return to the control menu
VolumeMixer
VolumeMixer
Master
0%
Beats
0%
Melody
25%
SFX
0%
Person Trim
267%
Return to the control menu
Engine
Engine

One voice engine plays all players. Percussion has its own engine.

Loudness

Engine levels are balanced by default. This extra gain is saved separately for each engine and applies to all players. Lower it if chords distort.

SoundFont
App reverb

Every player also sends to this room, on top of their instrument reverb. Ensembles can choose it.

App reverb follows mouth expression so its tail continues after the sound stops.

Applies to all players. Percussion uses its own engine.

Return to the control menu
Mouth
Mouth dynamics

How opening your mouth turns into loudness for all players. Adjust while playing to find what works best.

Loudness curve. Opening runs left to right, loudness bottom to top.

Drag a handle to reshape the curve. Click the graph to add a handle; double-click a handle or press Delete to remove it. Arrow keys move the focused handle. A flat start gives more room for quiet notes.

Opening

How far the mouth must open before a note starts. Lower values trigger notes sooner.

How much opening the whole curve covers. Short reaches full volume with less movement; long gives more room for quiet playing.

Return to the control menu
Head
Head movement

How far every player moves their head to reach each note and octave. The faces show how much travel each setting asks for.

How far the head leans side to side to cross every note. Lower needs less movement.

Nod
90°How far the head nods up and down to cross every octave. Lower needs less movement.
Centre
+10°The head height that plays the middle octave. Raise it so looking ahead plays lower octaves and the top octave needs a higher head.
Return to the control menu

Contact

Questions, ideas or feedback?

Get in touch (email [email protected])or for project news and future events.

Powered by Mailchimp

Use with other musical devices & software.

The PhotoSYNTH can control, and be controlled, by your outboard MIDI gear as well as any DAW and MIDI software. Some common setups are outlined below.

Software · Use your DAW & apps

Play software instruments, control your DAW and record PhotoSYNTH's MIDI or audio.

PhotoSYNTH sends notes and controls over Web MIDI, so music software on the same computer can play along, record and arrange your performance. Use a browser with Web MIDI support, such as Chrome or Edge.

Ableton LiveRecord audio & MIDI in your DAW

Send PhotoSYNTH's notes to Ableton Live over Web MIDI to play Live's instruments and record editable MIDI clips.

  1. Create a virtual MIDI port on the same computer. On macOS, open Audio MIDI Setup → Show MIDI Studio, double-click IAC Driver and enable Device is online. On Windows, install and open loopMIDI, then use + to create a port and keep loopMIDI running.
  2. Open PhotoSYNTH in a browser with Web MIDI support, such as Chrome. In MIDI routing, switch on Enable MIDI and allow the browser's MIDI permission request. Expand Fine-tune devices and channels and set each person's Output device to the virtual port. If the port is missing, reload PhotoSYNTH after creating it.
  3. In Live, open Settings (Preferences in older versions) → Link, Tempo & MIDI. Under MIDI Ports, enable Track for the virtual port's input. Enable Remote too if you want to map MIDI CC messages to Live's controls.
  4. Create a MIDI track and load an instrument. Set MIDI From to the virtual port and choose All Channels, or a person's assigned channel to record them separately. Set Monitor to Auto and arm the track.
  5. Play PhotoSYNTH and check that Live receives notes. Click an empty Session clip slot's record button, or start Arrangement recording, to record your performance.

Follow Ableton's virtual MIDI bus setup guide (also linked in the PhotoSYNTH FAQ) for the connection used by Web MIDI, and see Live's MIDI settings guide for port configuration.

Record the PhotoSYNTH audio

To record PhotoSYNTH's audio, route your browser audio through an audio interface's loopback inputs or a virtual audio device. Select that device in Live's Audio settings, create an audio track, set Audio From to Ext. In and select the routed input channels. Set Monitor to Off to avoid a feedback loop, arm the track and record. MIDI ports carry notes and controls; capturing browser audio requires this separate audio connection.

OpenDAWMake music in an open source workstation

Use OpenDAW to arrange and develop music made with PhotoSYNTH.

Continue a recorded performance
  1. Record a performance in PhotoSYNTH, then open Recordings and select the session you want to use.
  2. Under Export, choose DAWproject notes (.dawproject), enter a file name and press Export. This option appears for sessions containing recorded notes.
  3. Open OpenDAW and import the downloaded .dawproject file. Assign instruments to the imported note tracks, then play the project and check the sounds before arranging.

The note export transfers your performance for editing; choose instruments in OpenDAW to shape its sound. For the original PhotoSYNTH sound, export an audio take from Recordings instead.

See OpenDAW’s project management guide for project exchange and saving.

Other DAWs & MIDI appsLogic, GarageBand, FL Studio, Reaper, Bitwig & more

Any app that accepts MIDI input can play its instruments from PhotoSYNTH, record your notes and respond to PhotoSYNTH's controls.

Connect & record MIDI
  1. Create a virtual MIDI port: on macOS enable the IAC Driver in Audio MIDI Setup → Show MIDI Studio; on Windows create a port in loopMIDI and keep it running.
  2. In PhotoSYNTH, open MIDI routing, switch on Enable MIDI and allow access. Use Quick setup, or expand Fine-tune devices and channels, to send each person to the virtual port.
  3. In your app's MIDI settings, enable the virtual port as an input.
  4. Create an instrument or MIDI track, set its input to the virtual port (all channels, or one person's channel), arm it and press record.
Control your app

PhotoSYNTH sends its control changes as MIDI CC on the App control channel (16 by default). Use your app's MIDI learn to map them, or open CC codes in MIDI routing to see each code. Keep two-way CC control enabled to let your app move PhotoSYNTH's controls too.

Avoid sending your app's MIDI output back into the same virtual port, as this can create a feedback loop. To record PhotoSYNTH's sound rather than notes, route browser audio through a loopback or virtual audio device into an audio track.

Hardware · Use external gear

Play with MIDI instruments, game controllers, accessible switches and displays.

Connect compatible devices to play notes and control PhotoSYNTH, or send your performance to external instruments. Available devices depend on your browser and operating system.

Looking Glass PortraitShow your scene on a holographic display

Connect your Portrait before starting PhotoSYNTH so it can be detected.

Show your scene on the Looking Glass Portrait while keeping the performance controls on your computer.

Move your scene to the Portrait
  1. Keep the Portrait connected and start PhotoSYNTH.
  2. Press Open Looking Glass in the controls. Allow the new window to open if your browser asks.
  3. In the Portrait window, press Enter fullscreen. Keep the controls open on your computer to continue playing.
OPEN LOOKING GLASSYour computerControls stay here
Looking Glass PortraitScene moves here
Press Enter fullscreen in the Portrait window.
MIDI Keyboards & Sound ModulesPlay PhotoSYNTH from MIDI gear, or send notes out

Play PhotoSYNTH from a MIDI keyboard or controller, or send each person's notes to a synthesiser, drum machine or sound module.

Connect your MIDI gear
  1. Connect your device by USB, or through a MIDI interface for 5-pin DIN gear, before starting PhotoSYNTH.
  2. Open MIDI routing, switch on Enable MIDI and allow the browser's MIDI permission request. Connected devices appear under Connected MIDI devices.
  3. Choose a Quick setup, or expand Fine-tune devices and channels to set each person's input, output and MIDI channel.
  4. Play your keyboard to hear PhotoSYNTH, or perform in PhotoSYNTH and check that your sound module receives notes on the matching channel.
Two-way control

Hardware knobs and faders can change PhotoSYNTH's controls over MIDI CC on the App control channel (16 by default). Open CC codes in MIDI routing for the full list, and use Send current controls to update your gear to PhotoSYNTH's settings.

If a device is missing, reconnect it and reload PhotoSYNTH. Web MIDI needs a supporting browser such as Chrome or Edge.

GamepadsPlay notes, beats & chords with a controller

Use a compatible gamepad to play beats, instruments and chords, control visual effects, and adjust performance controls.

Connect & play
  1. Pair your controller over Bluetooth or connect it by USB before playing.
  2. Start PhotoSYNTH, then press a controller button so the browser can detect it.
  3. Try the buttons and sticks to explore the available performance controls. Mappings depend on the controller.

If nothing responds, check that your device recognises the controller, return focus to PhotoSYNTH and press a button again.

QWERTY KeyboardsPlay & control PhotoSYNTH with your keyboard

Turn your computer keyboard into a musical controller to play notes, chords, percussion and samples, or use operational shortcuts to control PhotoSYNTH.

Choose how to play

Choose a Keyboard Mode in the controls, or use F1–F6 to switch between Operational, Notes, Notes +1 Octave, Chords, Percussion and Samples. Page Up and Page Down also change keyboard mode.

In a performance mode, use the number and letter rows to play. Return focus to PhotoSYNTH after using another app, and leave text fields before playing. On keyboards that use function keys for brightness or volume, hold Fn with F1–F6, or select the mode on screen.

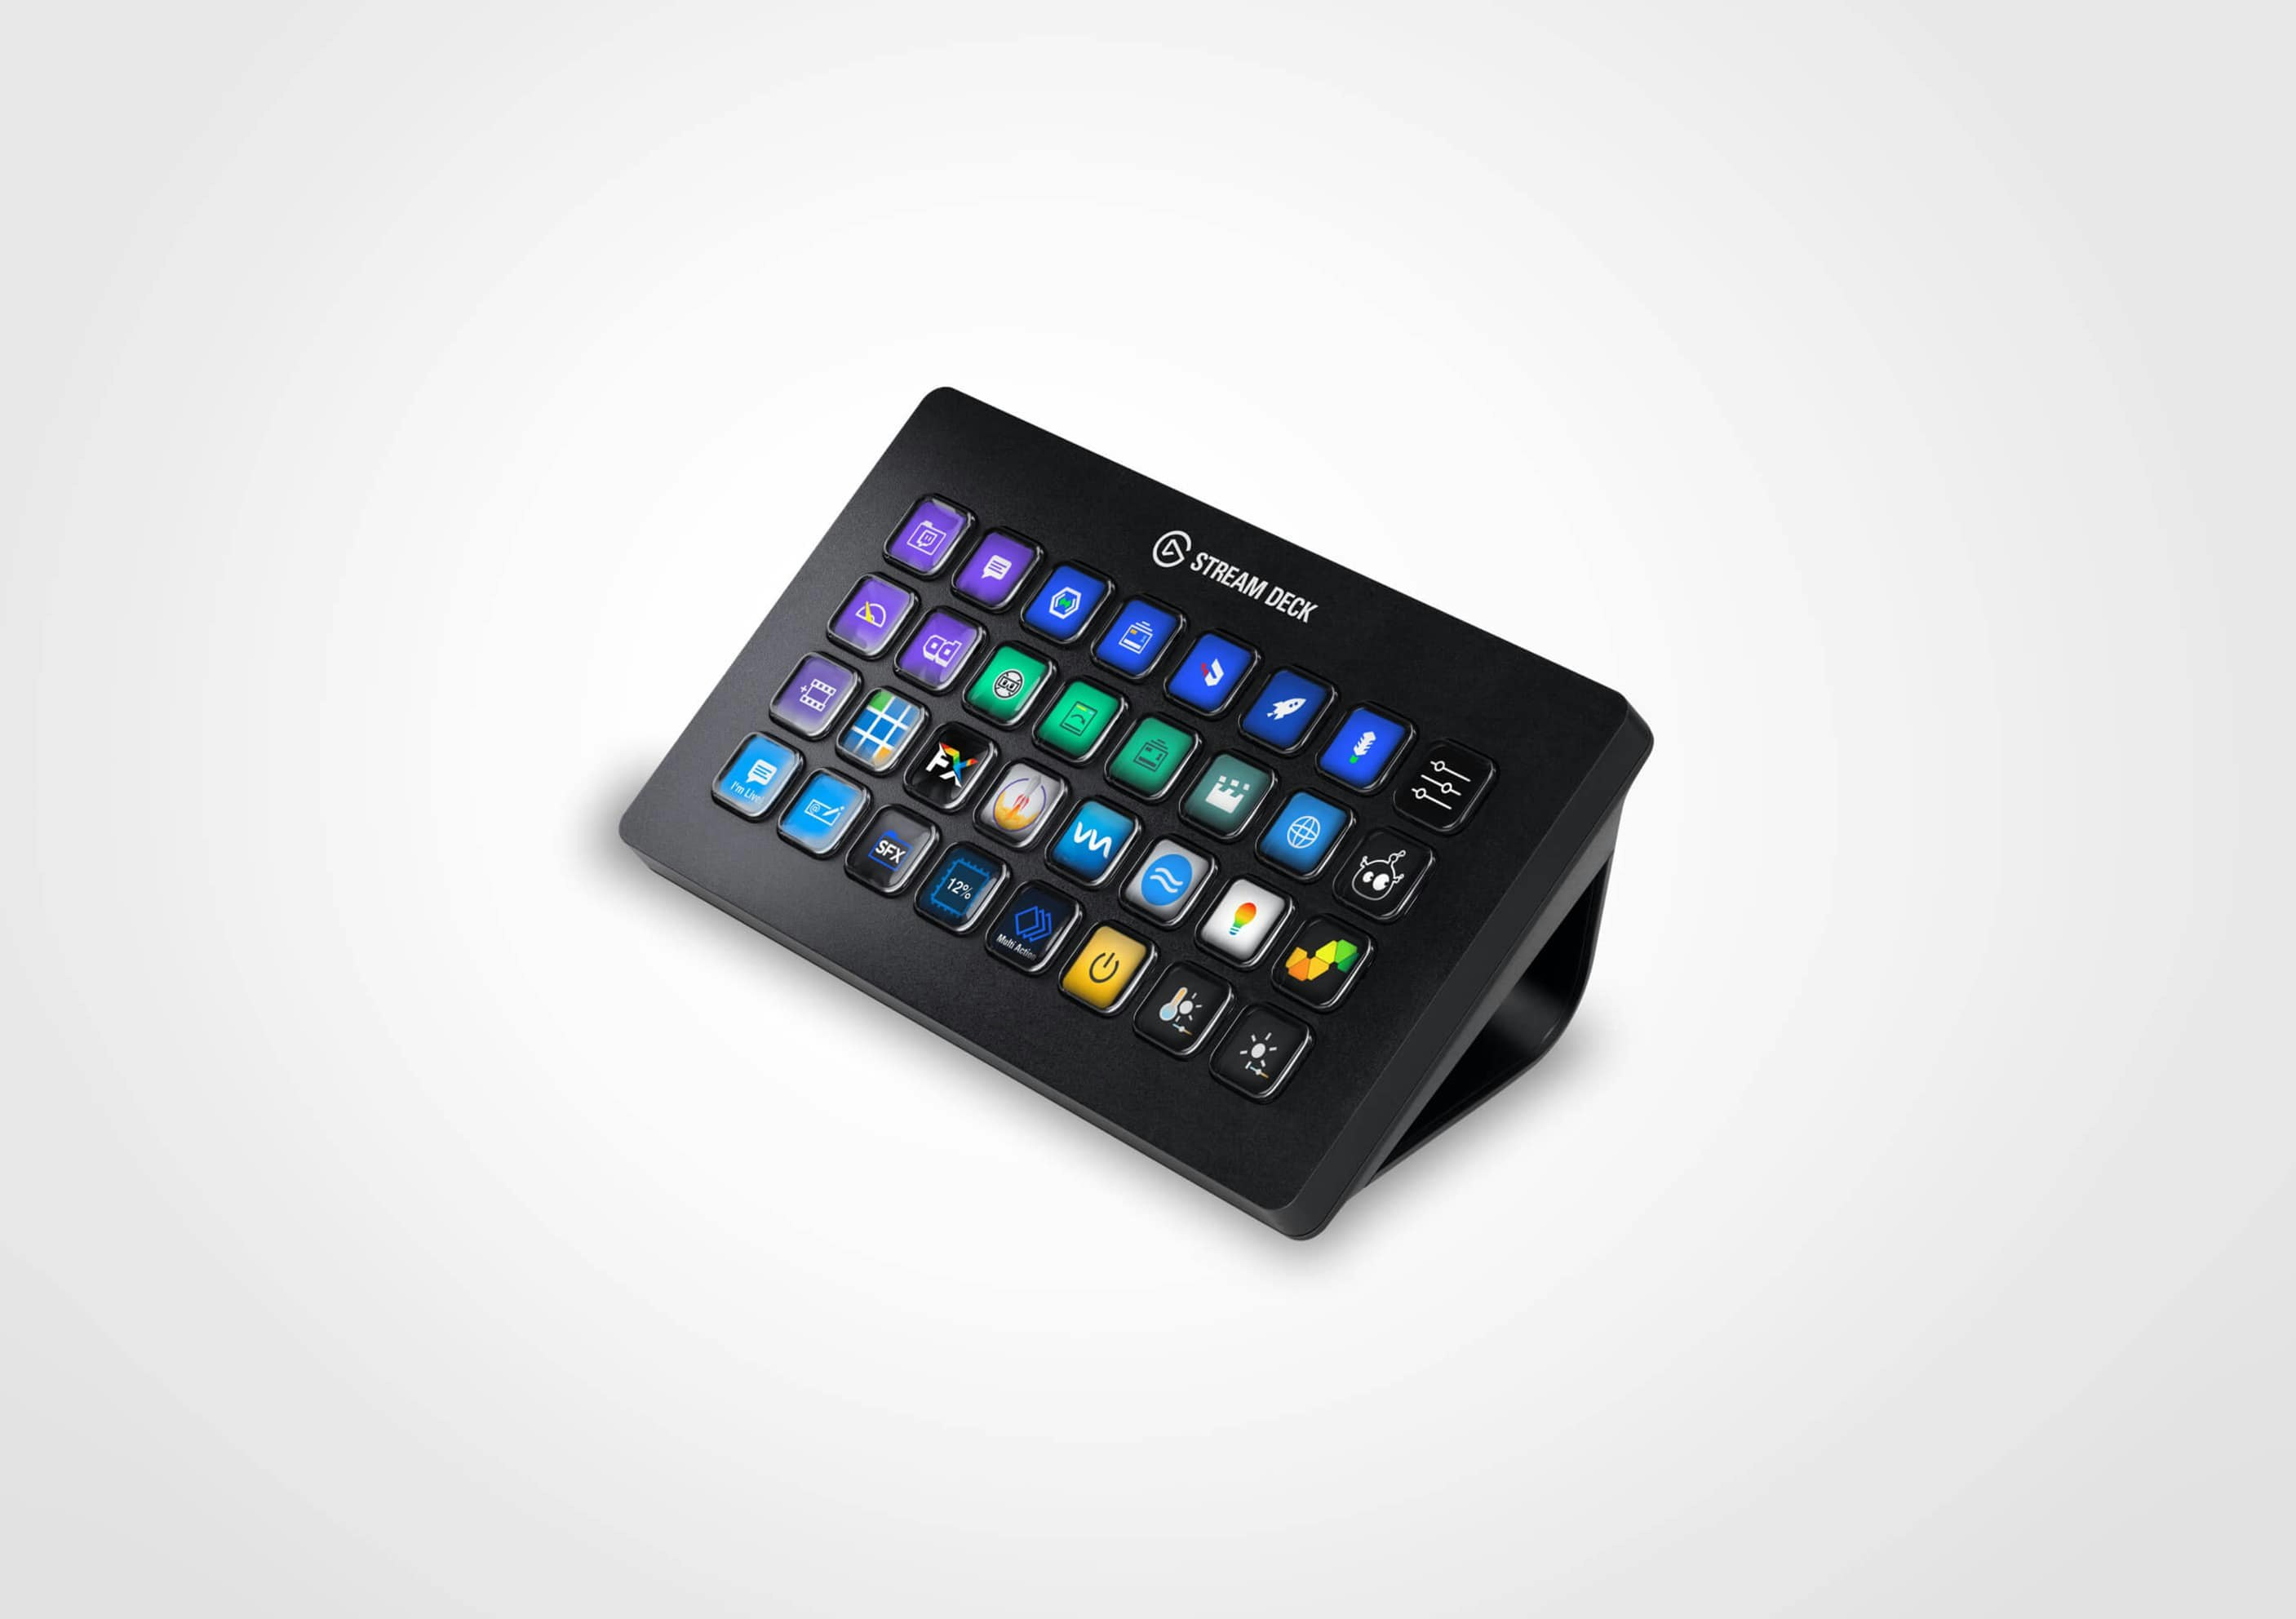
Stream Deck (& XL)Dedicated buttons for notes, chords, drums & samples

Turn your Stream Deck into a PhotoSYNTH control surface to control instruments, visuals, drums and samples. Dedicated pages switch between note, chord, percussion and sample performance modes.

Set up your Stream Deck
  1. Connect your Stream Deck and open the Stream Deck desktop application.
  2. Download the profile matching your device below, then open the downloaded file to import it.
  3. Select the PhotoSYNTH profile in Stream Deck. Start PhotoSYNTH and keep its window focused so the profile’s keyboard shortcuts reach the instrument.
  4. Use the profile’s performance pages to switch between notes, chords, percussion and samples.
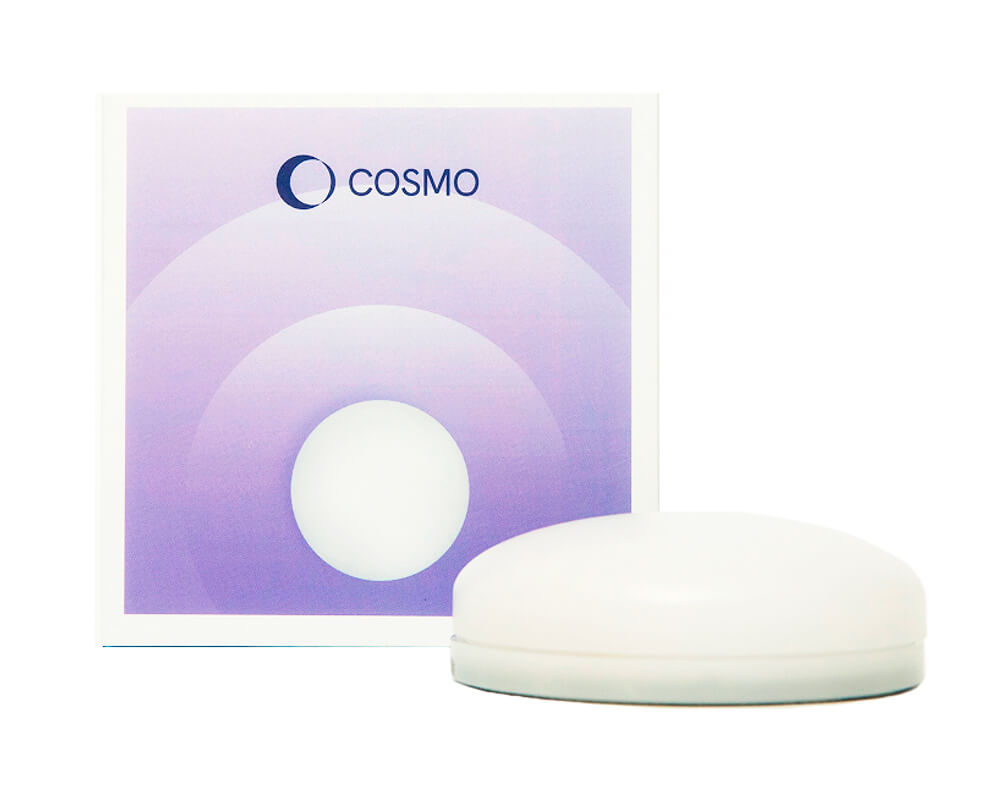
Cosmo DotsAccessible wireless buttons for musical performance

Use your Cosmo Dots with PhotoSYNTH to play all notes, perform chords and drums, and trigger samples and sound effects.

Connect & assign your Dots
  1. Connect your Dots to your device using their keyboard configuration.
  2. Assign each Dot a unique number key from 1–9 in your Cosmo setup.
  3. Start PhotoSYNTH, select a Keyboard Mode and keep the PhotoSYNTH window focused. Press each Dot to check its assigned sound.

Choose a Keyboard Mode in the controls to change what your Dots play: Notes (F2), Notes +1 Octave (F3), Chords (F4), Percussion (F5) or Samples (F6). In Notes modes, use Shift + Page Up or Shift + Page Down to move the number-key notes up or down an octave.

  1. 1C
  2. 2D
  3. 3E
  4. 4F
  5. 5G
  6. 6A
  7. 7B
  8. 8C
  9. 9D
Example: the default Notes mode maps numbers 1–9 to C3, D3, E3, F3, G3, A3, B3, C4 and D4. These labels show one note layout; your Dots can also play chords, drums and samples in the other modes. The pitch names identify the colors without relying on color alone.
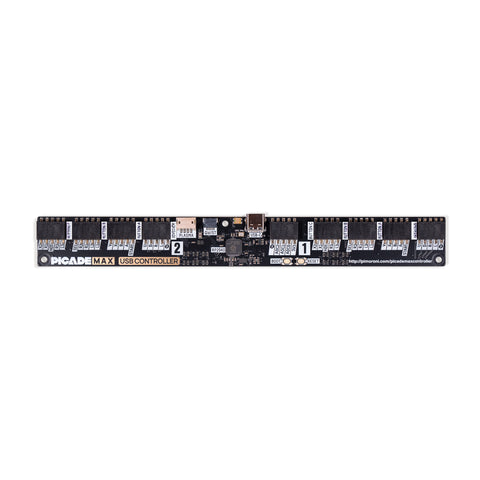
Picade Max Input Plasma LightsTest button lights & configure their physical order

Connect your Picade Max controller to test the Plasma button lights, or configure their physical order without connecting.

Set up the lights
  1. Connect the Picade Max Input controller by USB.
  2. Choose Connect & Test Lights below and select the controller when prompted.
  3. Open Configure Plasma Lights to match the light order to your physical button layout. You can configure the order before connecting the controller.

Connect your Picade-Max Input controller with Plasma lights then use the configurator to set the button / light layout.

Configure Plasma Lights

Supported by

Representation

MIDI CC controls

PhotoSYNTH app assignments. Enable MIDI and two-way CC control, then send Control Change messages on app control channel 16. Changes also send to connected outputs.

CC numbers and values are decimal (0–127). Switches: 0–63 off, 64–127 on. Faders: 0 = minimum, 127 = maximum. Selectors: options are evenly spaced from 0 to 127, in the order shown.

All supported app CC assignments
CCControlValues / mapping

Commands

Search for a section, control, or action.

↑↓ NavigateEnter RunEsc Close

Keyboard

Select a sound mode, then press any key shown below to perform its labelled action.

Sound modePgUp / PgDn change mode · Number keys always play Cosmo sounds

How to play PhotoSYNTH

Make music with your face and head movements, using your device’s camera.

Get started
  1. Choose the number of players on the start screen, then select Start.
  2. Allow camera access when your browser asks, and position your face in view of the camera.
  3. Roll your head left and right to change the note. Tilt forwards and backwards to change the octave.
  4. Open your mouth to make the sound louder. Try small movements first.
  5. Tap your face on screen to choose an instrument. Explore the control panel to adjust the sound, tempo, and volume.
If something is not working
Learn more and get help
Version 0.60.5
Realtime face controlled musical instrument!

Install it to your device

Updates available!
Something went wrong

PhotoSYNTH could not continue.

Please try again.

Camera help

Technical details

Select your MIDI device